It's super easy to share your online photos from various photo sharing websites right in your posts or to use as your avatar. Here are the instructions for doing this with some popular photo sharing sites:
1) Start by signing into Photobucket and clicking on "Library" at the top of the page
2) Find the photo you'd like to share and click on it. It will take you to a new page.
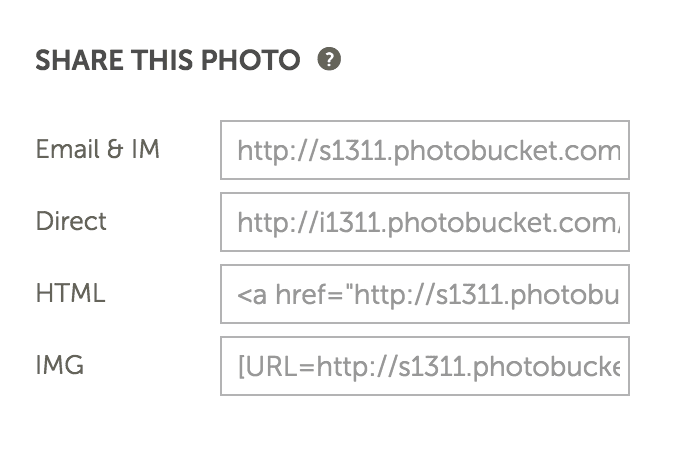
3) You will then see a set of boxes on the right hand side of the screen that look like the one below:

4) In that window, click on the item labeled "Direct" and you will see a brief message that says "Copied...". You now have the address of the photo you'd like to share.
5) To share the photo in your post, click on the "Photo" button and a form will appear (picture below). In the form, paste the address of your photo into the box labeled "Photo Address" and click the "Submit" button. The system will check to verify that the address returns an image as it should. Once this is verified, the code will automatically be placed into the box where you type your post.

6) You can also update your avatar by pasting the address of your photo into the box labeled "Avatar Address" when you're editing your profile.
1) Go to google photos or Google+ and click on the picture you would like to share. It will then show the full size image.
2) Right click on the picture and choose "copy image address" or "copy image location" depending on the browser you're using.
3) To share the photo in your post, click on the "Photo" button and a form will appear (picture below). In the form, paste the address of your photo into the box labeled "Photo Address" and click the "Submit" button. The system will check to verify that the address returns an image as it should. Once this is verified, the code will automatically be placed into the box where you type your post.

4) You can also update your avatar by pasting the address of your photo into the box labeled "Avatar Address" when you're editing your profile.

Click Anywhere To Close